Isolated Deep Learning Environment (with GUI) using Docker and VSCode
Isolation, portability, easy deployment. These sound perfect for production environments. But is it too much to ask this for R&D environments too? I don’t think so. Yes, I admit that there may be too much of overhead time to time, especially for the ordinary tasks. But I can assure you that when you fire up your entire development environment with a single “docker-compose up -d” line on a completely new machine for first time, you will immediately see that it is a blessing. Especially if you may need to run your experiments on many different machines, this kind of portability helps a lot. In my case, I need to work on 8-12 different dedicated virtual machines on a GPU cluster environment. Dealing with dependencies and virtual environments every time was a disaster before switching to Docker. Now, I don’t even need login to my VMs since I build a Swarm cluster (which I will not cover here) so that I can just submit jobs from my local computer, which is guaranteed to be run on the same settings thanks to Docker.
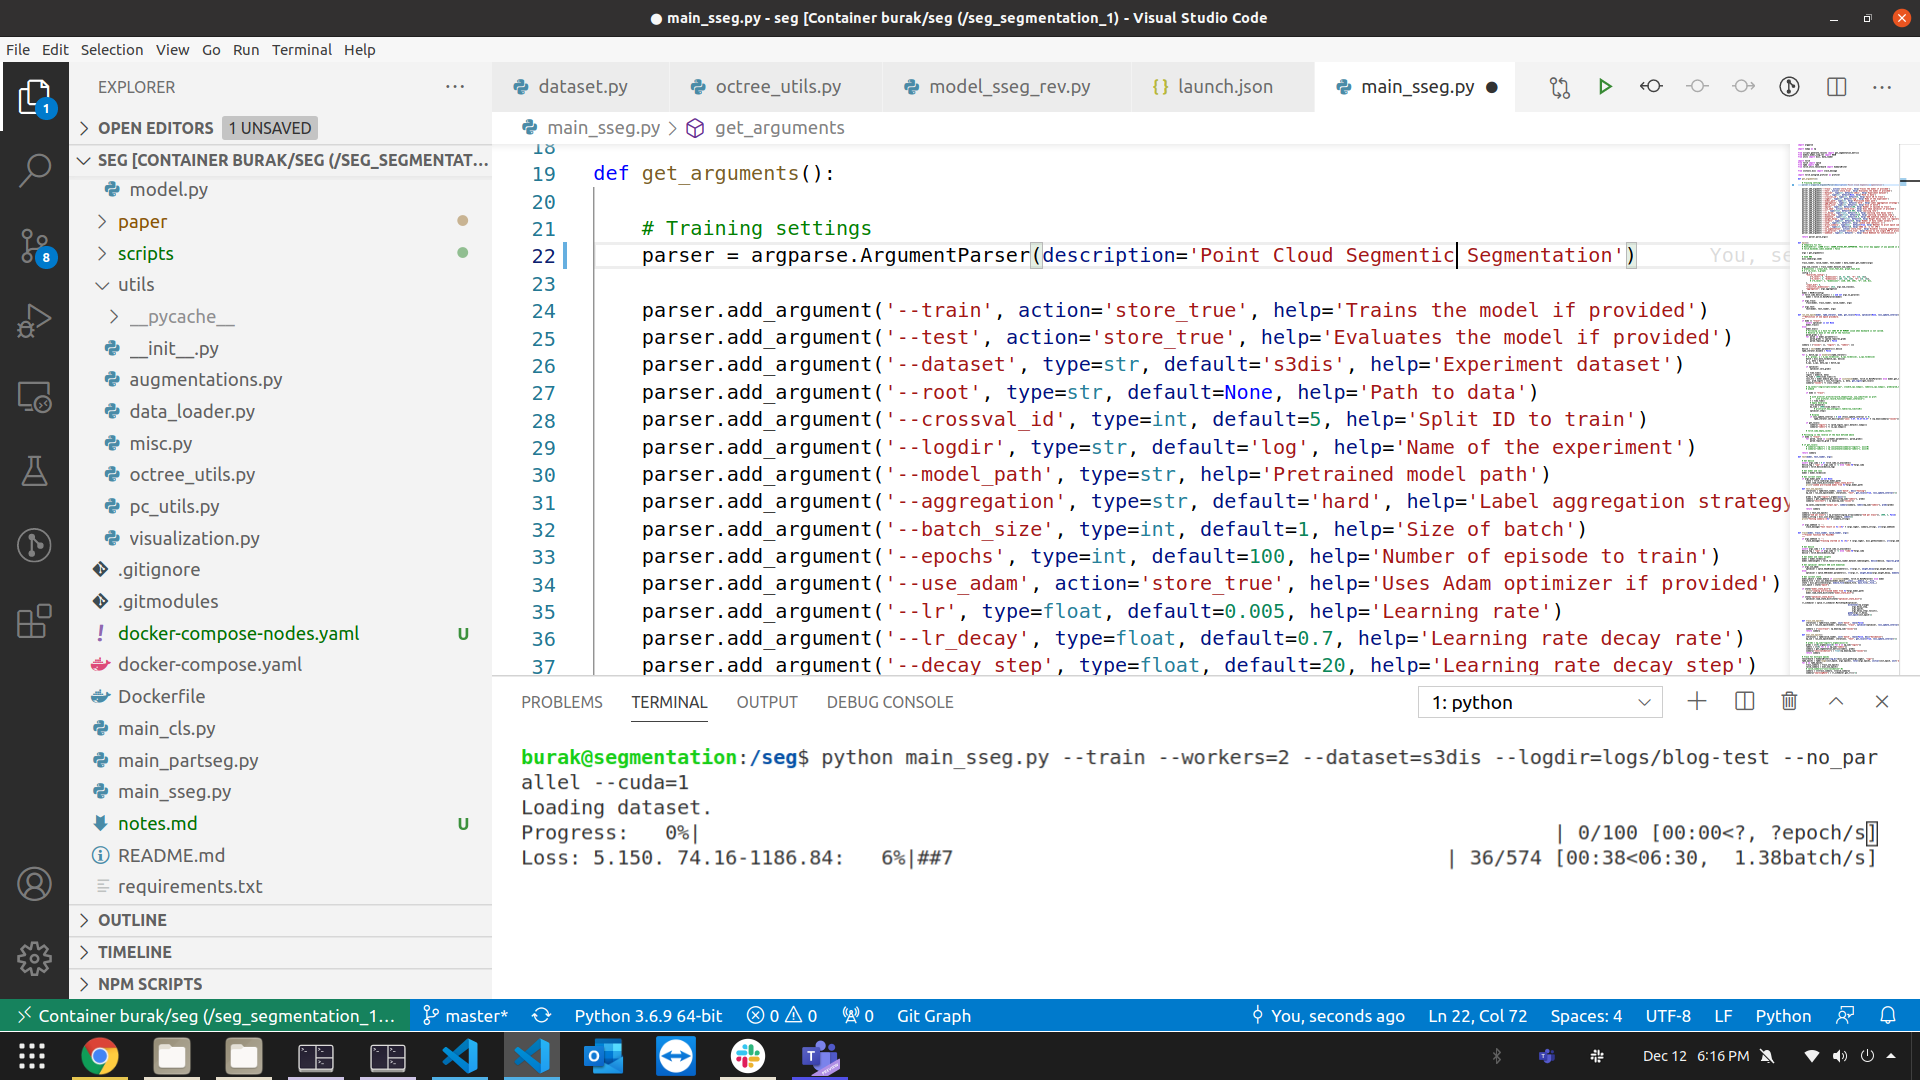 Training a model on a GPU in container
How about GUI? Containers are often used to serve on the background and their most common usage does not require direct human interface. However, in our case we will be working in and of itself the container, and we most likely want to be able to use GUI for data or results visualization. Therefore, the container needs some proper instructions when we run it to turn on the GUI. This is already handled in the docker-compose.yaml file below. All you need to do is observe.
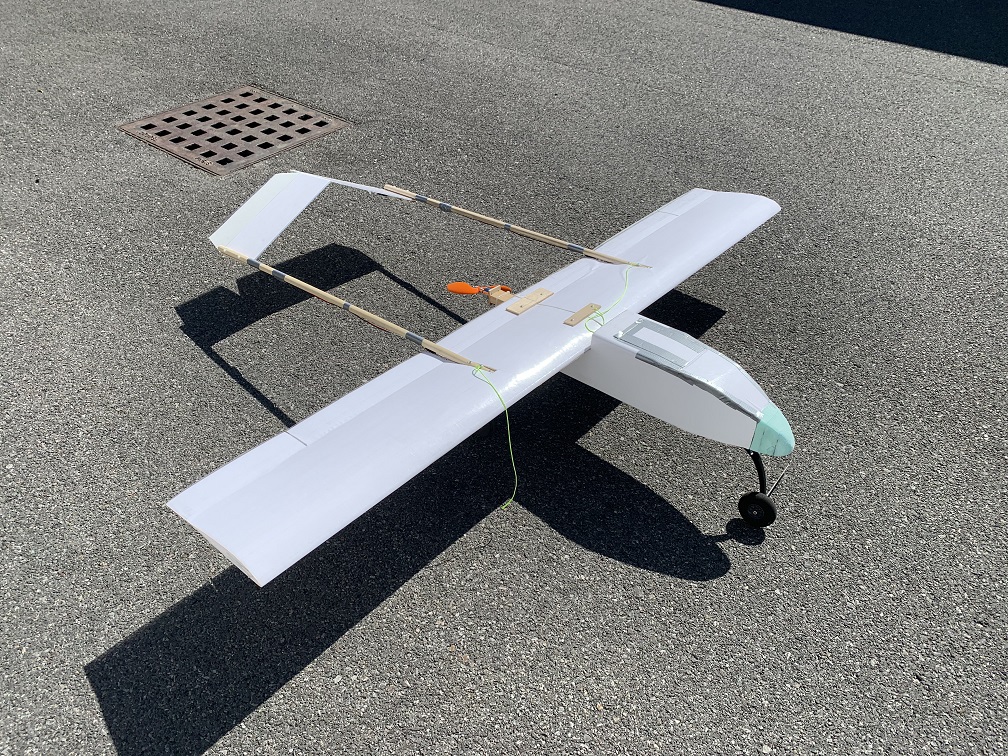
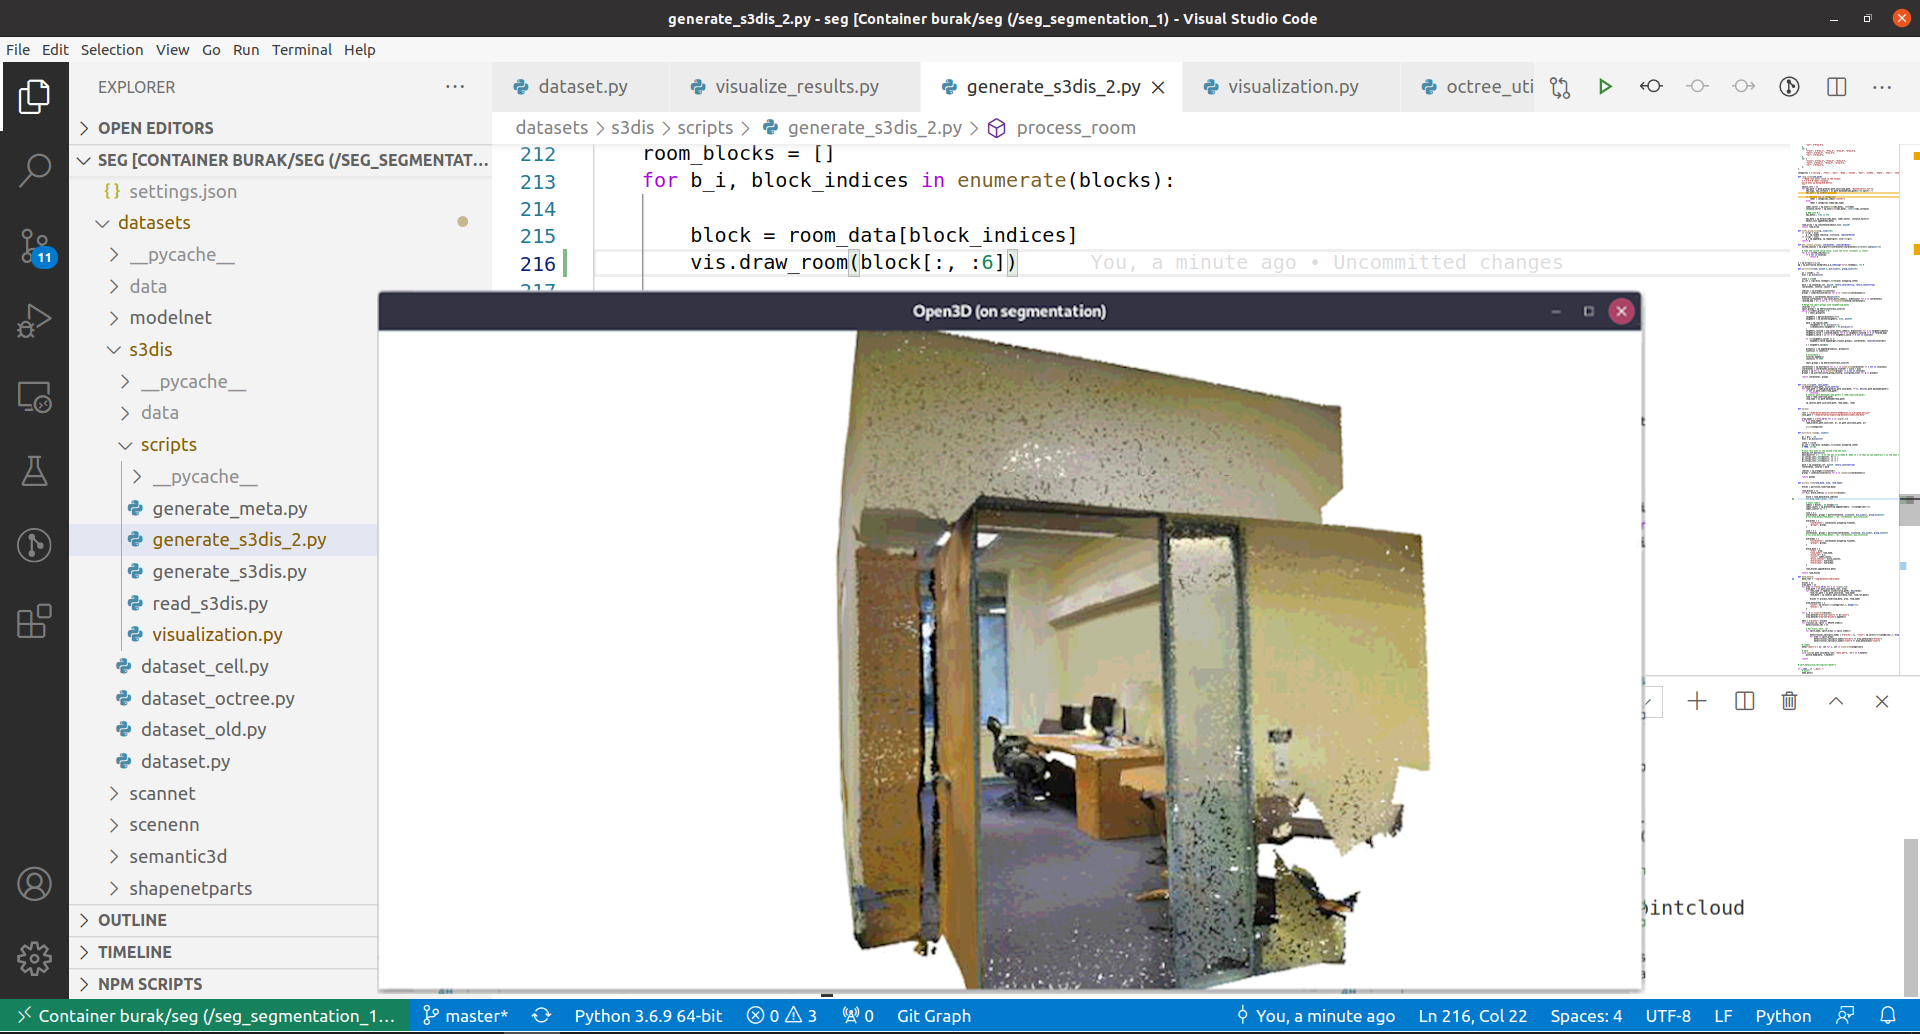 Using GUI for data visualization in container
This example specifically covers to generate a PyTorch environment for deep learning. Your application might be different, but adapting the Dockerfile and others should be trivial.
First time setup
- Install Docker (v19.03+): https://docs.docker.com/engine/install/ubuntu/
- Install docker-compose:
pip install docker-compose - Install
nvidia-container-runtime:sudo apt update; sudo apt install -y nvidia-container-runtime - Edit
/etc/docker/daemon.json{ "runtimes": { "nvidia": { "path": "/usr/bin/nvidia-container-runtime", "runtimeArgs": [] } } } - Rerun docker daemon:
sudo systemctl daemon-reload
sudo systemctl restart docker
Fire up the environment
Create a new folder and put the following Dockerfile and docker-compose.yaml in it. Note that the compose file mounts your local folder (/home/burak/local_workspace) as (/workspace) inside the container. Everything in that folder on the host machine will be visible inside /workspace in the container.
Note: In order to avoid file ownership/permission issues, we will create the same user in the container. You can get the user id (UID) and group id (GID) of your user account on the host machine with following commands:
id -u   # For UID. Usually 1000, 1001 or above
id -g   # For GID. Usually 1000, 1001 or above
Dockerfile
FROM nvidia/cuda:10.2-cudnn8-devel-ubuntu18.04

ENV USER=#SET_USER_NAME
ENV UID=#SET_UID
ENV GUI=#SET_GID

# Update your container and install required stuff
RUN apt update && \
    apt upgrade -y && \
    apt autoremove -y && \
    apt install -y \
        python3-pip \
        python3-dev \
        git \
        libgl1-mesa-glx

# Nothing fancy. Just set python3 pip3 as the system default
RUN update-alternatives --install /usr/bin/python python /usr/bin/python3.6 1 && \
    update-alternatives --install /usr/bin/pip pip /usr/bin/pip3 2 && \
    update-alternatives --auto python && \
    update-alternatives --auto pip

# Install Pytorch and other essential python libraries
RUN pip install --upgrade --no-cache-dir \
        pip \
        pylint \
        h5py \
        tqdm \
        numpy \
        scipy \
        scikit-learn \
        scikit-image \
        open3d \
        torch==1.5.0 \
        torchvision==0.6 \
        tensorboard

# Add local user
ENV HOME=/home/$USER
RUN useradd -s /bin/bash -u $UID -g $GID -m $HOME $USER && \
    usermod -aG sudo $USER
USER $USER

WORKDIR /workspace
CMD bash
docker-compose.yaml
services:
    my_envirorment:
        image: my_images/pytorch
        build: .
        command: /bin/bash
        restart: unless-stopped                 # Restart the container unless manually stopped
        volumes:
          - /home/burak/local_workspace:/workspace
          - /tmp/.X11-unix:/tmp/.X11-unix:rw    # GUI related
        environment:
            - PYTHONUNBUFFERED=1                # Required to tell the Python to flush to std output
            - DISPLAY                           # GUI related
            - QT_X11_NO_MITSHM=1                # GUI related
            - NVIDIA_VISIBLE_DEVICES=all        # GUI related
            - NVIDIA_DRIVER_CAPABILITIES=all    # GUI related

        privileged: true                        # GUI related
        shm_size: 32G                           # Required for training
        runtime: nvidia                         # nvidia-container-runtime needed

        hostname: my_envirorment

        stdin_open: true                        # same as 'docker run -i'
        tty: true                               # same as 'docker run -t'

    # Optional tensorboard service
    # (you need to obtain tensorflow image: "docker pull tensorflow")
    tensorboard:
        image: tensorflow/tensorflow:latest
        command: tensorboard --logdir=/tb_logs --port=8008 --bind_all
        volumes:
          - /home/burak/local_workspace/logs:/tb_logs
        restart: unless-stopped

        ports:
            - "8008:8008"

        hostname: tensorboard
Fire up!
docker-compose up -d
Connecting to your environment using VSCode
VSCode is an amazing and game changer IDE/Text Editor. I will not go into much detail here on VSCode and its installation. Basically you need to have VSCode installed together with 2 of the following extensions:
- Docker
- Visual Studio Code Remote - Containers
After installing these, click on the “Remote Explorer” tab on the right, chose Containers at the top. You will see your running container there, click on it and open your folder to start.
You are ready to work on your isolated environment!
Extra stuff
Deploy on another machine
If you need to deploy your image to other machines, there are at least two ways. First is saving the image to a file, copying the image file to the target machine, then loading the image on the target. Second way, which is more standard, is using a local registry and letting other machines just pull your images as if they are pulling from Docker Hub.
Save, Copy, Load
On the machine that you build your container:
docker save --output my_images_pytorch.tar my_images/pytorch
It will generate my_images_pytorch.tar file the you should transfer that file to the other machine using scp, sftp etc.
Then on the target machine:
docker load --input my_images_pytorch.tar
Use Registry
A better way of deployment is use of a local registry. Simply create a registry instance on your local machine. Remember that this should keep running in order other machines to be able pull any image.
docker run -d -p 5000:5000 --restart=always --name registry registry:2
It will start a registry instance on port 5000. Even if you reboot your PC, it will be online thanks to the --restart=always parameter.
Once your registry is online, simply push your image into it. In order to do that, the image should be tagged properly first.
docker tag my_images/pytorch 192.168.1.5:5000/my_images/pytorch
docker push 192.168.1.5:5000/my_images/pytorch
Now your image is up in the registry. Then in the target machine you will only need to do:
docker pull 192.168.1.5:5000/my_images/pytorch
It will pull your image from your own registry on your local machine.
IMPORTANT
Because the registry is not a secure one, we need to modify one thing on the remote machine once for the first time. We need basically need to make our remote machine to trust our local registry, by modifying /etc/docker/daemon.json file (on the remote/target machine), and adding following to the configuration: (Assume that the host IP is 192.168.1.5)
{
  "insecure-registries": ["192.168.1.5:5000"]
}